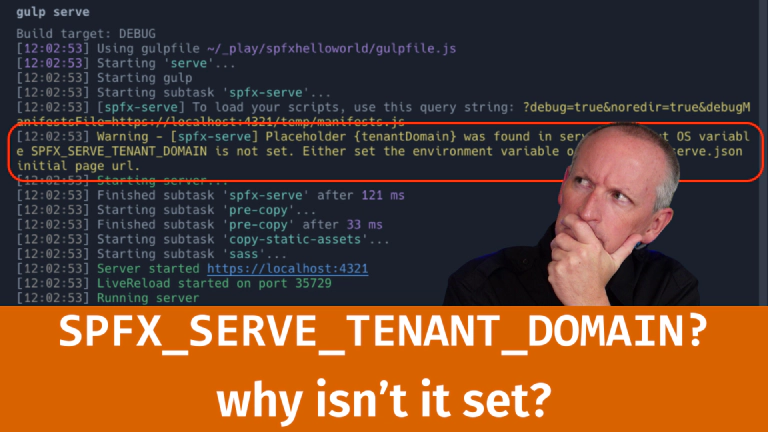
Have you noticed when you run gulp serve on a SharePoint Framework (SPFx) project creating using SPFx v1.17 or higher, the SPFx toolchain redirects you to an invalid URL?
That’s because, by default, the URL isn’t valid and it stems from a change Microsoft made to the SPFx in the SPFx v1.17 release.
If you take a look at your console, you’ll see the root of the problem:
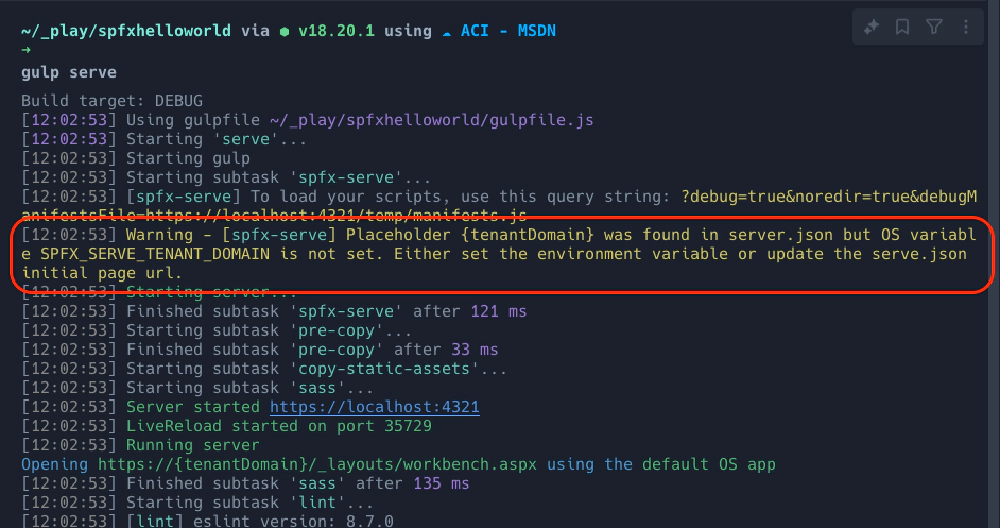
SPFx 'gulp serve' console output
Improving the SPFx development test & debugging experience
Starting with SPFx v1.17, Microsoft replaced the hosted workbench URL launched when you execute gulp serve with a dynamic value. This is defined in the project’s ./config/serve.json file in the initialPage property:
{
  "$schema": "https://developer.microsoft.com/json-schemas/spfx-build/spfx-serve.schema.json",
  "port": 4321,
  "https": true,
  "initialPage": "https://{tenantDomain}/_layouts/workbench.aspx"
}
Notice the {tenantDomain} string? The SPFx build toolchain will replace this value on the fly with a value defined in an environment variable on your local workstation.
Developers can use the SPFX_SERVE_TENANT_DOMAIN OS environment variable to specify the tenant domain (or site URL) for serve configurations across different SPFx solutions. If a URL in the serve configuration (for example, pageUrl for Field Customizer) contains the {tenantDomain} placeholder, it will be automatically replaced with the variable’s value.
But if this environment variable isn’t set, the link won’t work. Refer back to the image above… notice the line in the console that says it’s opening the URL in the browser that still has the {tenantDomain} placeholder:
Opening https://{tenantDomain}/_layouts/workbench.aspx using the default OS app
Clearly, that won’t work. That indicates the environment variable isn’t set in my test.
Why did Microsoft make this change?
Previously, developers had to change the hosted workbench URL on every single project that they wanted to test. The default URL set on the ./config/serve.json file’s initialPage property was set to https://enter-your-SharePoint-site/_layouts/workbench.aspx.
That won’t work either.
This extra task of changing the URL every time you wanted to test your project was a burden to developers. Most SPFx developers use the same Microsoft 365 tenant to test their SPFx solutions, so why not give them an option to set it once on their workstation?
That’s what this change to using the environment variable approach is intended to address - improving SPFx developer’s quality of life.
So, how do you set this? It depends what your preferred platform is, but once you set it, this is what you’ll see:
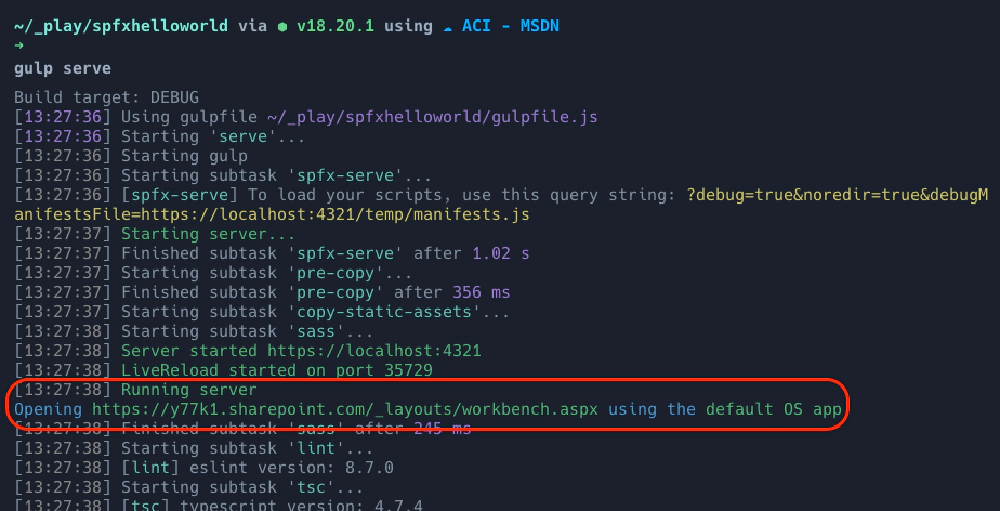
Output from gulp serve when the env var is set
Set environment variables on Windows
If you’re using Windows for you development experience, refer to Microsoft’s documentation on setting environment variables: set (environment variable).
To check if you have the variable set, run the following command:
set SPFX_SERVE_TENANT_DOMAIN
# or
echo %SPFX_SERVE_TENANT_DOMAIN%
If it’s set, you’ll see the value printed to the screen. But if it isn’t set, nothing will be displayed:

Windows - SPFX_SERVE_TENANT_DOMAIN not set
To set it, enter the following command in the console, replacing the URL with your preferred URL. The following example demonstrates using a tenant named y77k1:
set SPFX_SERVE_TENANT_DOMAIN=y77k1.sharepoint.com
Repeat the process of outputting it to verify it’s set:

Windows - SPFX_SERVE_TENANT_DOMAIN set
“Permanently” set environment variables on Windows
To permanently set it so it’s persisted across reboots:
Launch Control Panel
System
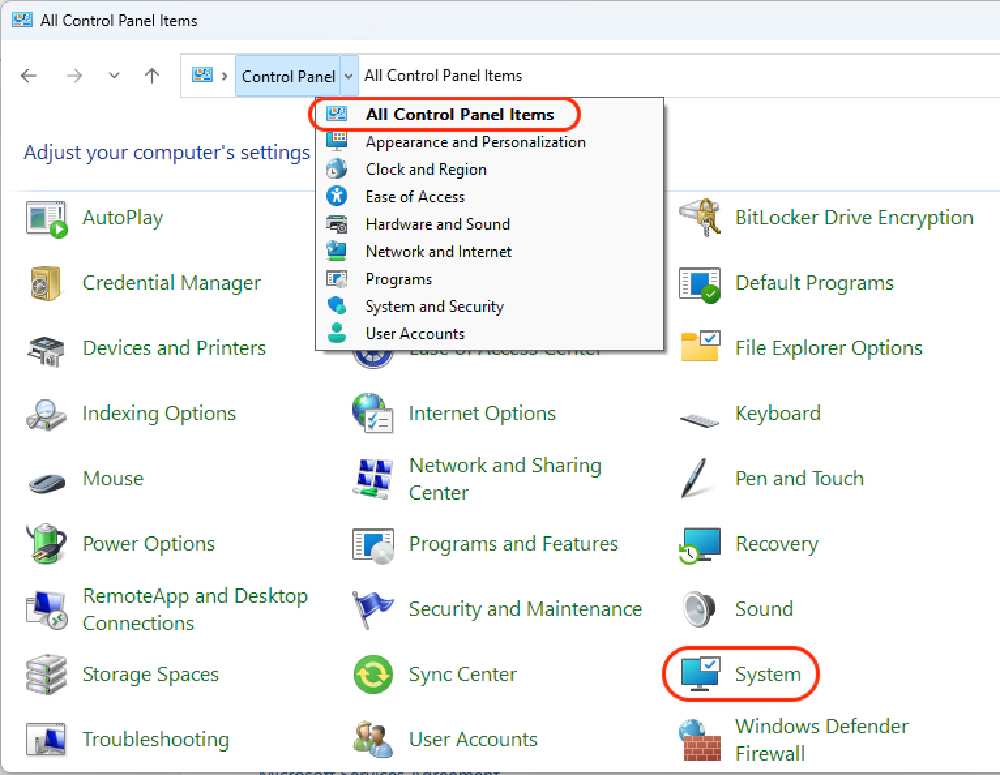
Windows 11 Control Panel - System
Advanced system settings
Switch to Advanced tab
Environment variables
Select System Variables (for all users)
To add a new environment variable:
- Select New
- Enter the variable SPFX_SERVE_TENANT_DOMAIN and the domain of your Microsoft 365 tenant.
To change an existing environment variable:
- Select Edit
- Enter the new and the domain of your Microsoft 365 tenant.
Now, restart the console for the new setting to take effect.
Set environment variables on macOS
If you’re using macOS for your development experience, refer to Apple’s documentation on setting environment variables: Use environment variables in Terminal on Mac.
To check if you have the variable set, run the following command:
echo $SPFX_SERVE_TENANT_DOMAIN
If it’s set, you’ll see the value printed to the screen. But if it isn’t set, nothing will be displayed:

macOS - SPFX_SERVE_TENANT_DOMAIN not set
To set it, enter the following command in the console, replacing the URL with your preferred URL. The following example demonstrates using a tenant named y77k1:
export SPFX_SERVE_TENANT_DOMAIN=y77k1.sharepoint.com
Repeat the process of outputting it to verify it’s set:

macOS - SPFX_SERVE_TENANT_DOMAIN set
“Permanently” set environment variables on macOS
To permanently set it, add this to the end of your profile’s configuration file. For example, ~/.zshrc. This way, every time you launch a new console, the variable will be set.
The .zshrc file is the configuration file for the ZSH shell, the default shell on macOS since macOS Catalina, released in 2019. Prior to that, macOS used a Bash shell.
Other configuration files in your home directory could be .bashrc, .bash_profile, .profile.
Like Windows, this isn’t really a permanent change, it just sets the value every time the console is launched.

Microsoft MVP, Full-Stack Developer & Chief Course Artisan - Voitanos LLC.
Andrew Connell is a full stack developer who focuses on Microsoft Azure & Microsoft 365. He’s a 21-year recipient of Microsoft’s MVP award and has helped thousands of developers through the various courses he’s authored & taught. Whether it’s an introduction to the entire ecosystem, or a deep dive into a specific software, his resources, tools, and support help web developers become experts in the Microsoft 365 ecosystem, so they can become irreplaceable in their organization.
